Panning

Few Tips And Tricks For Panning Photography

Panning is the technique which shows the motion of the subject, if done correctly. It involves the movement of the camera along with the moving subject either in horizontal or vertical direction. When we think of horizontal panning, we can think of situations like traffic on the road, racing games, sprinters or cyclists, whereas panning to capture the motion of a diver is an example of vertical panning. Theoretically, panning is a simple technique which requires you to use the slower shutter speed, maintain the focus on the subject, continuously pan with the subject and then take the shot. But getting a perfect panning shot is not as simple as it sounds. It needs precise focusing on the subject, good timing on releasing the shutter, balancing your distance with the subject and keep practicing with the different shutter speed until you get the balanced result.

Panning is an interesting concept where the motion is shown by freezing the movement of the subject while making the background blurry at the same time. We all know that freezing the moving subject requires faster shutter speed, but to make the part of the image blurry, we need to shoot with the slower shutter speed. If that is the case, you can possibly argue that how can we achieve the desired shot without combining multiple images, right? And that is the secret of this technique. You don’t have to edit the picture or combine shots in order to get the motion effect in a single picture. You would get it by properly applying the techniques, and timing the shot from the proper distance so that you could include the background in the frame, which is very important to get the motion effect. Now let’s get into the details of these techniques and see how can we master the panning shots.

Read More

Use Panning Technique To Shoot Fast Moving Subjects

Panning is the photography technique which is primarily used to show the motion of the fast moving subject. The basic idea behind the panning is to follow the moving subject with the camera as it crosses your field of view, resulting in the subject being sharp and the rest of the shot including the background image blurred. Relatively sharp subject and the blurry background gives the feeling of the movement and the speed. It’s particularly useful in capturing any fast moving subject like racing cars, running animals, cyclist etc. If you want to master the panning technique, first and most importantly, you have to follow few simple rules and then practice with a lot of patience. Do not get frustrated with some blurry subjects initially. Panning is a skill which can be learned over time but you need to experiment with many variables including your camera settings, your distance with the subject, shutter release timing etc., which we will discuss later. In order to get the good result with panning, the ideal flow would be - maintain a balanced distance with the subject, use a little slower shutter speed, follow the moving subject and pan your camera along with the subject on the same plane of the motion, take the shot and continue to pan in the same direction.

Here are few guidelines you can follow to properly apply panning technique.

1. Use the Shutter Priority Mode.

2. Start from a slower shutter speed (1/15s - 1/30s) and go up or down little bit as you need depending on the speed of the subject and the lighting conditions.

3. Shoot in a Continuous Autofocus Mode because your subject and the camera are constantly moving in proportion to each other. This way camera continuously track and focus the moving subject.

4. If your camera doesn't support autofocus, you have to judge the traveling path of the subject, determine the subject's final point for the shooting and pre-focus on that point and then take the shot.

5. Use a Continuous Shooting Mode or a Burst Mode so that you can have a multiple shots and will have the flexibility to choose the best among many shots.

6. Position yourself parallel in front of the moving subject. If you keep larger distance from the subject, it might decrease the speed of the subject in relation with you and your camera, but it also reduces the effect of panning, and the effect is often why we do the panning. So, you have to balance the distance with the subject and the speed of the panning.

7. Place your subject position fixed in your viewfinder and smoothly move your camera as the subject moves on it's track.

8. Continuously follow the track of the moving subject, take the shot and keep moving the camera as if you are taking a shot. This will create a soft transition and gives better result.

9. If you need an extra support for heavy camera and big lens, you can use a tripod which supports panning feature. It gives extra stability to minimize the motion blur on the main subject.

Panning Technique (Image Credit : AdoramaTV)

Panning Technique (Image Credit : AdoramaTV)

Exposure : 1/30 sec     Aperture : f/14.0     Focal Length : 200mm     ISO : 100

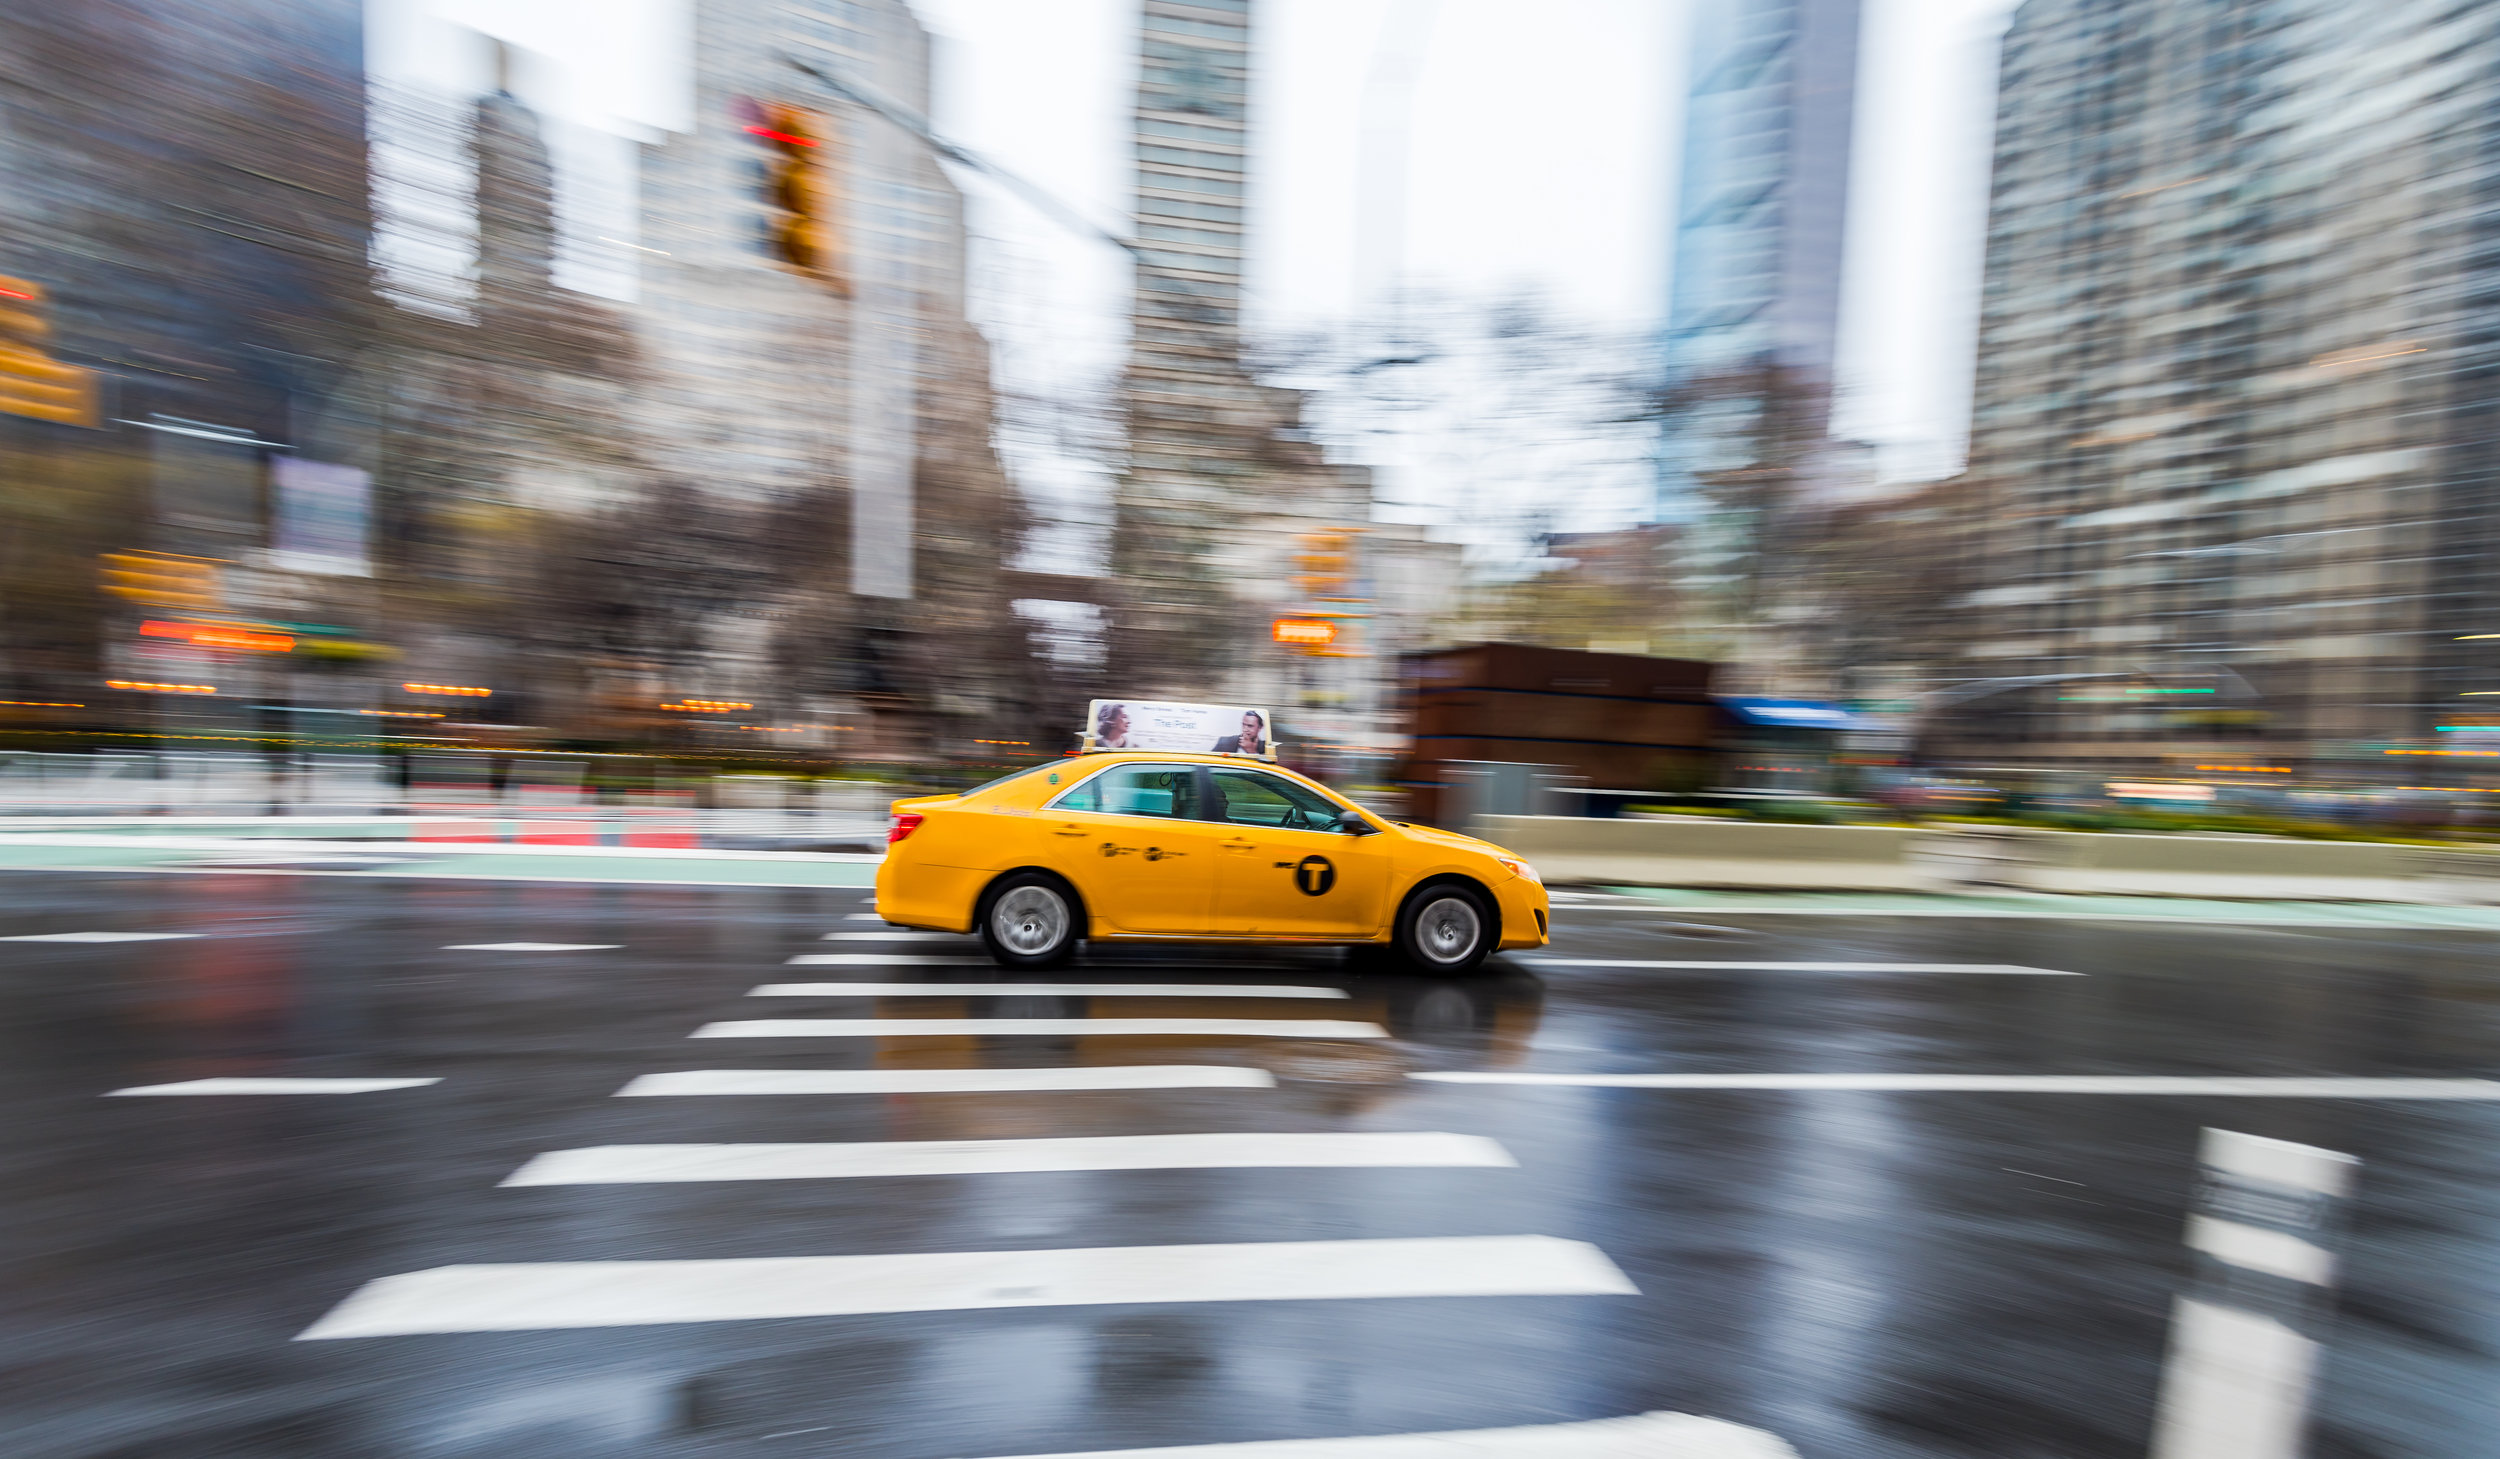
If you are new to this technique, do not expect to get a perfect shot in the beginning. You have to keep experimenting with different settings until you get the best result. Also using this technique, you might not get a super sharp result but panning allows you to shoot the moving subject smoothly and at the same time gives you the feeling of the motion. If you do it right, you will get the subject relatively sharper than the motion blur background, which is the main idea of this technique to give a sense of the moving subject. Here is something I tried during my recent visit to New York City.

New-York-Traffic.jpg

Exposure : 1/15 sec     Aperture : f/22     Focal Length : 16mm     ISO : 200

It's not as perfect as I would like it to be but I will try next time and keep practicing until I get the better result.

Manfrotto 055XPROB Pro Tripod And Manfrotto 498RC2 Ball Head

When I bought my first tripod about two years ago, I didn't care too much about the quality. I was rather focused on the price and got fairly priced tripod for around $50. My first DSLR was Nikon D60 which I bought with the kit lens and I was not having problem using that tripod with the D60. But when I upgraded my camera to Nikon D90 with a bigger lens, 18-200mm VR II, I felt the need for a sturdy and strong tripod to hold the camera (and the lens attached to it) without worrying about it falling off the tripod. I have had a bad experience (tripod legs fell apart) with my previous cheap tripod when I was shooting July 4th fireworks in New York city.

Manfrotto 055XPROB Tripod Legs

Manfrotto 055XPROB Tripod Legs

After doing some research and reading online reviews, I bought Manfrotto 055XPROB Pro Tripod with Manfrotto 498RC2 Ball Head. I could go with Manfrotto 190XPROB 3 Section Aluminum Pro Tripod and 498RC2 ball head but I felt like to go one step up just to be safe for the future gears. Manfrotto 055XPROB Pro Tripod shares all the features with Manfrotto 190XPROB 3 Section Aluminum Pro Tripod but the 055XPROB is a more sturdy, heavier and a little taller than the 190XPROB. When you are not doing photography, you can actually use the 055XPROB for the weight lifting purpose as well. I guess little bit of humor doesn't hurt, and in fact, we all need it as a daily dose.

Let me summarize the basic differences between the 055XPROB and the 190XPROB.

Manfrotto 055XPROB Vs Manfrotto 190XPROB

1. Weight Support

055XPROB - Supports up to 15.4 pounds

190XPROB - Supports up to 11 pounds

2. Base Area

055XPROB - Leg diameters 29.4, 25, 20 mm

190XPROB - Leg diameters 25, 20, 16 mm

3. Height

055XPROB - Min/Max. height 3.9"/70.3"

190XPROB - Min/Max. height 3.3"/57.5"

4. Weight

055XPROB - Weighs 5 pounds

190XPROB - Weighs 4 pounds

Both gears are designed with the same basic principles and share common features like extending the center column and fold to make a horizontal arm and both are made out of solid aluminum material.

Manfrotto 498RC2 Ball Head

Manfrotto 498RC2 Ball Head

Manfrotto 498RC2 Ball Head works great with both tripods and gives an extra feature to those photographers who love to shoot panoramic shot using horizontal pan (Manfrotto 496RC2 Ball Head lacks this feature).

This ball head has been totally redesigned for better ease of use. A newly designed friction control knob allows the photographer to achieve superior control when handling the camera and making micro movements without having to totally lock and unlock the ball head. The knobs have been redesigned to be more ergonomic, easier to handle and more user-friendly. The ergonomic shape allows the user to better lock the ball securely. A re-positionable locking lever allows the user to place it in a comfortable position in order to use it in the most convenient way; just pull it outwards, put it in the best working position and then release it. This model features a RC2 quick release plate including an additional safety system that prevents the accidental detaching of the camera from the head. The locking lever securely locks the head both in the +90°, -90° ball positioning and in the 360° pan movements for panoramic shot or even getting panning effects. With solid aluminum construction, this head is the ideal support for all the traditional or the digital small or medium format cameras weighing up to 17 pounds.