
Nikon D7000 comes with a built-in flash which does pretty good job most of the time; specially when your subject is close, and you just need to fill the light. The power of the built-in flash is not enough to use it as a main source of light and this is when external flash comes handy. Nikon's every new DSLRs support external flash units but in addition, Nikon D7000 gives some extra options to connect external flash unit. Basically you have five different ways to connect an external flash unit to your Nikon D7000.

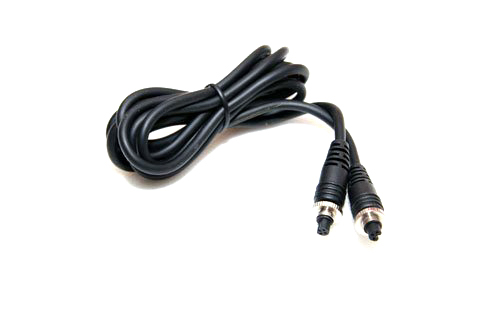
Nikon SC-29 TTL coiled remote cord
1. Mount on the accessory shoe: You can connect your flash unit to D7000 by sliding a compatible flash units into the accessory shoe, also called hot shoe. When you slide your flash unit to hot shoe, D7000 automatically detects Nikon speedlights and you can control it's function using camera menu options.
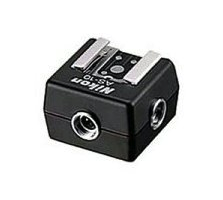
Nikon AS-10 TTL Multi-Flash adapter
2. Connect to the accessory shoe with a cable: Instead of mounting your flash directly into accessory shoe, you can also use Nikon standard cables; Nikon SC-28 or SC-29 TTL coiled remote cords to connect flash units with Nikon DSLRs. These coiled remote cords have an accessory shoe on one end of nine-foot cable to accept flash, and a foot that slides into the camera accessory shoe on the other end, providing a link that is the same as mounting flash directly sliding into hot shoe. But using these cables gives you flexibility of placing flash units into different orientations than being fixed on top of the camera. It is useful when you want to experiment with direction of lights using wired connection between flash units and camera.
Nikon SC-26:27 TTL Multi-Flash Sync cord
3. Connect using Multi-Flash cables: You can also use Nikon SC-27 or SC-26 TTL Multi-Flash Sync Cords to connect TTL flash units to each other or through the AS-10 TTL Multi-Flash adapter or SC-28 TTL remote cord for multi-flash operation. You may want to use this with older NIkon Flash units as it doesn't support i-TTL or D-TTL operation.

Nikon AS-15 Sync Terminal Adapter
4. Connect to a PC/X connector: Nikon D7000 doesn't have built-in PC sync connector, but Nikon offers an optional adapter, Nikon AS-15 Sync Terminal Adapter, that clips into hot shoe and provides a PC/X connector which can be used with studio strobes. These adapters are useful when they are combined with a voltage limiter so that you don't need to worry about frying your camera with an older flash units that has a triggering voltage that's too high.
Note: According to B&H online store, AS-15 Sync Terminal Adapter doesn't provide high-voltage sync protection, and is not recommended for flash units that have more than 6v.
5. Connect using Wireless technology: Nikon D7000 has a commander mode option which lets you trigger most of the Nikon speedlight units wirelessly. Using commander mode, these speedlights can be triggered by another master flash in commander mode or by the RU-800 infrared device. You can also use third party wireless device such as RadioPopper JrX or PocketWizards wireless flash triggers which are pretty much dominant in the market.


