Composition

Compose Your Photographs With Contrast

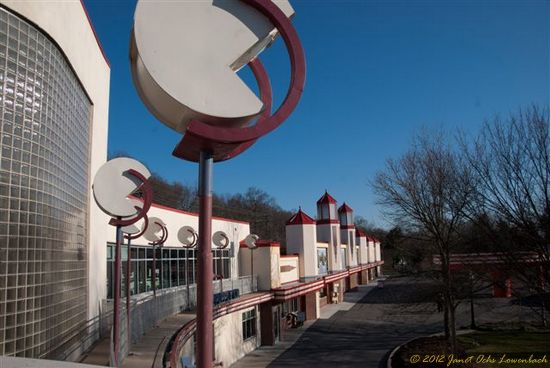
Contrast is probably one of the widely used and accepted composition theory in the field of photography. Initially, contrast was intended for the traditional arts but later it blended very nicely into photography and became an essential part of it. You can define a contrast in anything and in any form you like while you are composing a photograph. It could be a contrast between light and dark, between different kind of shapes, colors and sizes. You can also explore and try different possibilities of contrast, such as contrasting large or small, long or short, color or monochrome, smooth or rough, transparent or opaque, vertical or horizontal, soft or hard, liquid or solid and so on. You can try contrasting your photographs in two different ways; you can take two pictures to define two poles of contrast separately or blend them together into one photograph. Sometimes it is not possible to blend any particular two poles of contrast into one image but you may be able to include other forms of contrast in the same photograph. For example, if you are doing landscape photography, you might want everything from the foreground to the background in focus. In such situations, it wouldn't be possible to have focus and blurry effect in one photograph but you can have light or dark contrast in the same photograph.

In this shot below which I took this afternoon, you can see the black/white and the light/dark contrast. Also, to maximize the impression of quantity, this shot was composed right to the edges of the blinds, but not to the edges so that the slats appear to extend far beyond the frame edges in both horizontal and vertical direction. In this photograph, little represents many which is also another form of contrast.

Contrast Composition

Contrast Composition

You don't have to limit the contrast to the colors and objects. You can also create a contrast of concept, such as continuous or intermittent or something non-visual like loud or quiet and so on.

Reference : The Photographer's Eye

Do Not Use Cropping As An Excuse

Cropping is an editing skill that has always been an important part of photography. It was widely used during the days of black-and-white photography and is now considered as an integral part of digital photography. Even though your frame is well composed during shooting, sometimes technical adjustments demands cropping. In digital photography, cropping gives you the power of reworking on your composition well after it has been shot. Modern editing tools come with cropping option loaded with presets of different composition techniques, rule of third for example. It gives you an option for deferring design decisions, and even let you explore new ways of organizing the photograph.

When you do stitching, you are combining more than one shot to make a larger image but during cropping, you are actually reducing the size of the image. This is very important point to remember if you are planning to crop your image later during post processing because cropping demands your original picture to be in high resolution if you do not want to loose the details in larger printing.

It is very common for the wildlife photographer to shoot very high resolution picture and later crop it to highlight the important part of the shot, eagle catching a fish or the head-shot of the bald eagle for example. Cropping is also being widely used to magnify the moon shot and most of the time it has nothing to do with the composition.

With the use of computer and advanced software, cropping process is becoming very easier and clearer. However, it is very important not to think of cropping as an excuse for not composing well at the time of shooting. You shouldn't let the cropping tool to become a habit of not being decisive about the composition during the shooting. The danger of creating such habit is that you start thinking that you can perform a significant proportion of photography on the computer and it introduces an interruption in the process of making a photograph.


Varying Your Composition

This post is written by Guest Contributor, Janet Ochs Lowenbach. If you are also interested in writing a guest blog, please reach out using the form in the Contact page.

On a crisp, abnormally warm winter day, I decided to photograph a local amusement park that had been closed and made into an art center. Assignments like this are challenging because you have to try to do something different from everybody else. You have to go underneath the obvious scene (and its parts) and think about the meaning of what you see.  For example, does the building look abandoned and sad? Does it make you feel lonely?  Does a sign naming the park remind you of happy times? Does the carousel connote the laughter of children? By approaching the scene with an understanding of what it means to you, you can change the way you portray the park and it elements.

Glen-Echo-park-entrance.jpg

There are other ways that you can make your pictures alive. Look for shapes and lines, the quality of light, for repeating patterns, shots from far and near (or wide angle and telephoto),  parts of things that give the whole meaning, reflections – remember you can photograph anything you see-light and dark, textures.

Glen-echo-pattern.jpg
Glen-Echo-closeup.jpg
Glen-Echo-Park-2.jpg

Sometimes people take 10, 20, or 30 pictures the same way over and over again. They stand with the camera at eye level, not moving, and go blam, blam, blam.  To change this boring approach, you must move into different positions when you take the picture. The result will be a new way of viewing the subject that you hadn’t thought about before. Eventually you will learn from your movements and be able to predict how you will change the impact of the photo. Repeat after me: up, down, over, under, past, by (past and by mean alongside an object like a wall). These changes add depth and impact to your photos. Note the grass shot from under the pattern of the mirrors on the white building which was top shot past, and the carousel pieces shot down and far and near. Note also that shooting up gives importance to the subject while shooting down diminishes it.

Glen-Echo-grass.jpg

Next time I will shoot more up and down and also demonstrate the impact of Lightroom which I used to edit these pictures.