
Active D-Lighting is the technology used by Nikon which is designed to control the exposure to recover the details in the highlights and shadow areas. It allows you to shoot in different lighting condition and give natural contrast to the photograph. It does so by adjusting the exposure value depending on the situation. Camera will set the exposure slightly underexposed when Active D-Lighting is set to ON. It will adjust aperture and shutter speed combination to give that underexposed result. According to Nikon, "Active D-Lighting optimizes high contrast images to restore the shadow and highlight details that are often lost when strong lighting increases the contrast between bright and dark areas of an image. It can be set to operate automatically or manually, and it's also possible to bracket pictures to get one with Active D-Lighting and one without." ADL can be selected from Auto, Extra high, High, Normal, Low, or Off in case of Nikon D90.
Where to set ADL option for NIKON D90?
1. Go to the Menu button.
2. Select Shooting Menu (camera icon) option.
3. Choose Active D-Lighting.
4. Set the option as you want.
NOTE: Using ADL at higher ISO (more than ISO 1600) will create more noise in the shadow areas. Sometimes it is a good idea to avoid ADL because of shadow areas noise issue in higher ISO sensitivities. The contrast can be managed using either Photoshop or Lightroom during the post production. To do this, you have to shoot in RAW format which produces less noise than shooting with ADL option ON.
Active D-Lighting decreases the contrast to add details in the areas of highlights and shadows only. It won't affect the whole image but only to specific areas that require detail recovering.
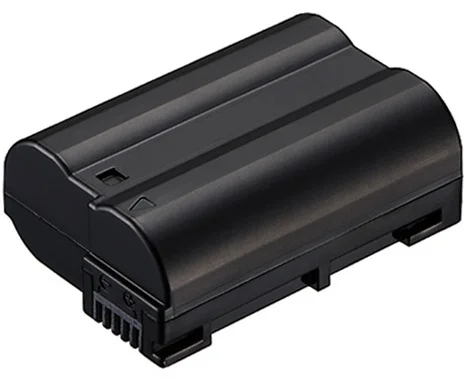


I primarily shoot landscape and cityscape which requires me to take a long exposure and bracketed shots. Even though there is no hard-and-fast rule, there are few generally accepted practices among the photography communities for the camera controls and the settings, camera and the lens types and the list of accessories one should have to get better results. Usually, combining a full frame (FX-Format) camera with the wide angle lens gives you the best possible frame for the landscape or the cityscape shots. If you shoot with a higher resolution DSLR, you can crop the images, change the composition during the post-processing and still have enough pixels left in them to print in a larger size. If you are more interested in shooting buildings and architectures, you would get better results by using the tilt-shift lens which allows you to move (tilt and shift) the part of the lens in relation to the image sensor in a wide range of directions and gives you the better and more natural perspective of the structure.
Since I stepped into the photography world in 2009, Nikon D810 is my fourth DSLR but second full frame camera after D700. The decision to upgrade D700 to D810 was influenced by the need for a moderately higher resolution camera which was designed and marketed for landscape photography. Over the last 10 years, I have tried and shot in different camera settings and lighting environments. I have traveled to many places to get a good shot and also made countless mistakes repeatedly. I have learned the most from my own mistakes which gave me some invaluable lessons about what to do and what not to do during the shooting process. All these years of mistakes and countless teaching moments gave me my own set of camera controls and the settings to follow. Today, I want to share that information with you and get your feedback if you have any.