This post is a part of our Q&A section. If you want to submit your question, please use the form in the Contact page.

Deepak (Mumbai, India) asked : What camera feature do you prefer to be assigned to the function button on a DSLR camera?
Deepak, to be honest with you, your question forced me to go back and see what are the other options available in the menu to assign to the function button. I always assigned only two of my favorite options and never looked back into other options. In the first part let me talk briefly about what is the function button and why should we use it? And in the second part I will explain what feature do I assign to the function button and why?

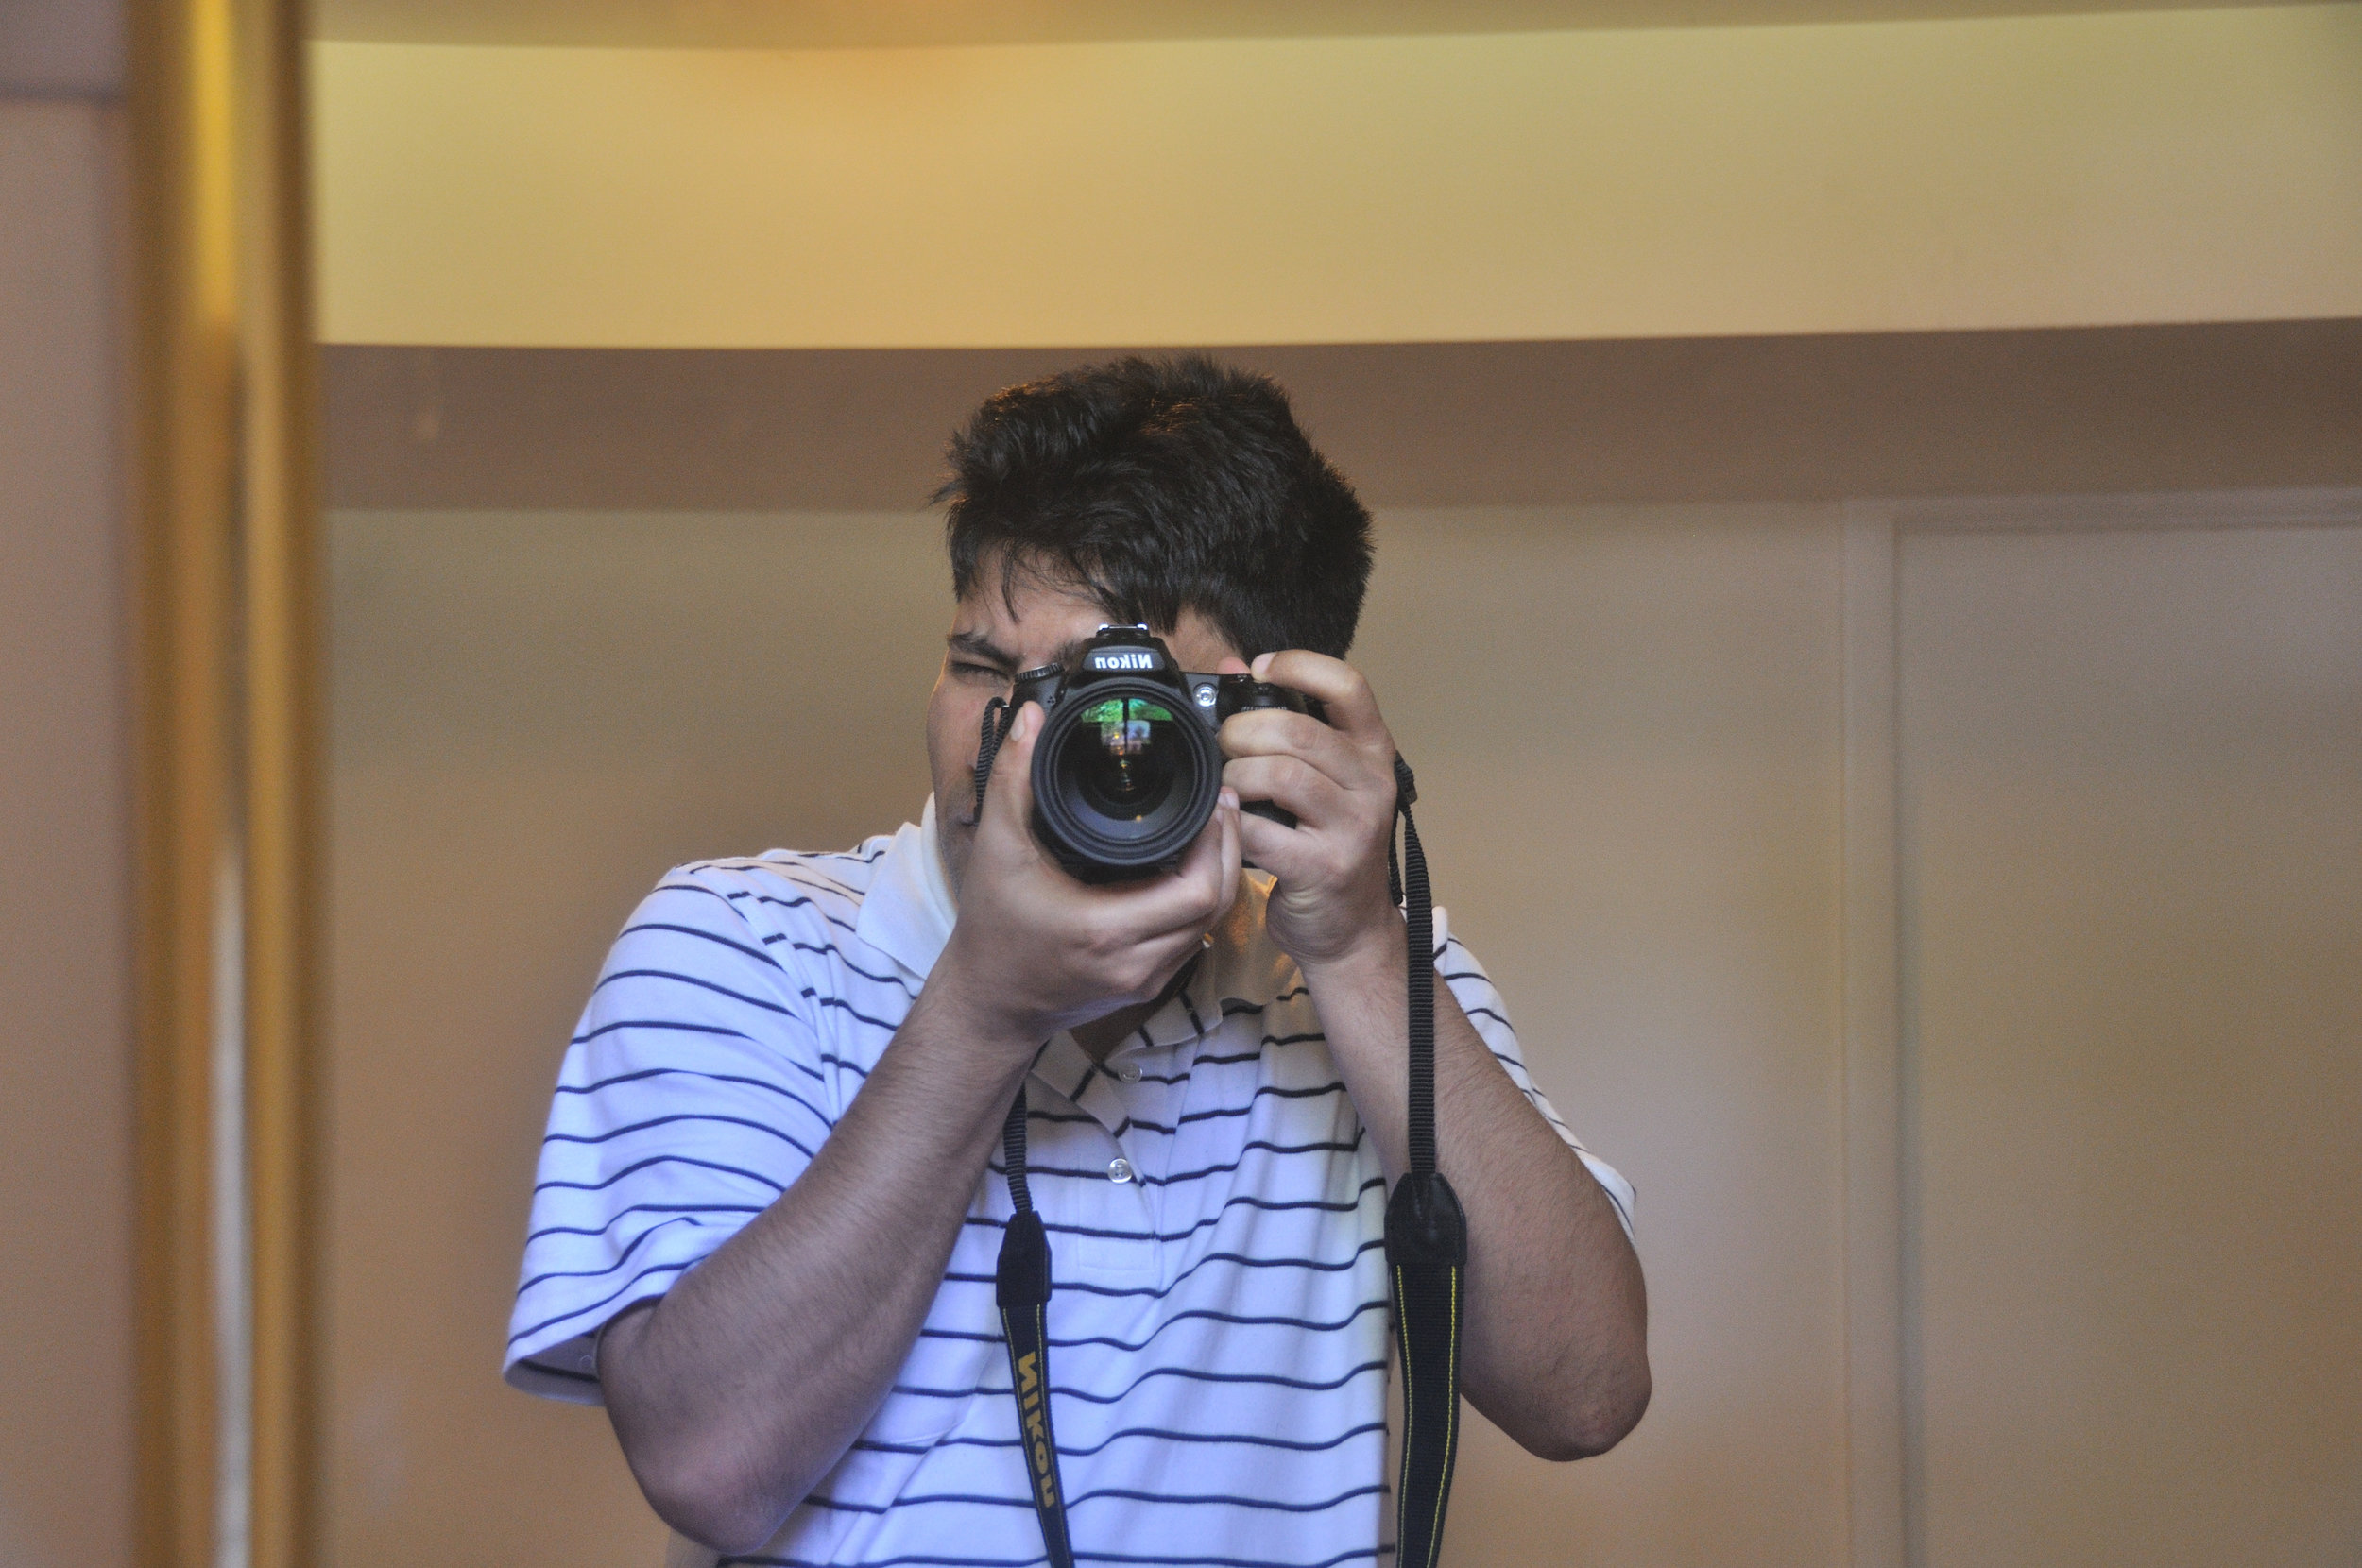
Nikon D90 Function (Fn) Button
Function button allows you to change the particular camera setting without going deep down to the menu options. Once you assign the function button to the specific feature, whenever you press the function button, camera will adjust the setting for that particular shot. This feature comes very handy when you want to quickly alter the camera setting without wasting too much time navigating through the menu tree. Now let’s discuss how to assign one of the camera’s feature to the function button. In this example, I am taking Nikon D90 to refer to the menu items. If you use some other DSLR, your menu navigation might be little different.
Step 1 : Press the MENU button on the back of your camera
Step 2 : Go the Custom Settings Menu (pencil icon) and navigate down to f (controls).
Step 3 : Select f3 (Assign FUNC. button).
You have varieties of options available there such as spot metering, +RAW, matrix metering, center-weighted metering, flash off, framing grid, AF-area mode etc. Personally, my favorites are spot metering and +RAW mode. Why? Because I set the metering mode to the matrix metering by default and sometimes if I want to give the credit to the center of the subject for the metering purpose, I want to use the spot metering. When I am ready to shoot, I would then press the Fn button and the camera will use the spot metering for that particular shot and go back to the regular setting as soon as the picture is taken. And the same is true for choosing the +RAW mode as well. When I was beginning to learn the basics of photography, I always shot in JPEG Fine mode but once in a while I also took the RAW images to edit the picture later on the computer and learn more about the post-processing tools and techniques. So, whenever I wanted to take the RAW image, I pressed the function button and shoot with JPEG Fine+RAW mode for the particular shot so that the camera takes JPEG and RAW versions of the image and stores them into the memory.
You can play around with the options your camera has and decide which one you want to stick with for regular use. Thank you again for your question from which I also got chance to learn about other options my camera has. Happy shooting!