
If you want to control other flash units remotely using a SB-800, you have to set it up as a master flash unit. And here are the few steps to configure a SB-800 flash unit as a Master Flash Unit.
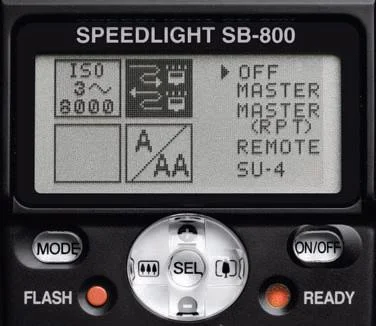
1. With the SB-800 unit turned on, press and hold the SEL button for two seconds and the display will be changed.
2. Locate the shaded box and use the toggle buttons to highlight the wireless symbol.
3. Press the SEL button for one second. By doing so, the one right arrow pointing towards the OFF will change to two arrows (up and down) and the OFF selection on the right will be shaded.

4. Scroll down and select the MASTER by highlighting it and pressing the SEL button for two seconds. The display will then change to the Master view.
5. Press the SEL button to highlight "M". By pressing "+/–" you can change the flash output compensation value for the "M" group. Pressing the MODE while a group (M, A, B or C) is highlighted will change how the Speedlights in that group will react.
Available Flash Modes: TTL - Through The Lens metering A - Auto Aperture M - Manual - - No light output (although in M - - a preflash will occur)

Press the SEL button to jump from group M to A to B to C. Set the amount of flash output compensation for each group using "+/–" as you go.
6. Use the SEL button to highlight “CH” and use "+/–" to select the channel you will be working in. There are 4 channels which allow multiple photographers using the Nikon Creative Lighting System to control only their own Speedlights.
Note: The channel you choose for the Master Speedlight must be the same channel the remote units are set to.
7. Attach the Master Speedlight to your camera and you are ready to control other speedlights remotely.
If you are looking for how to configure a SB-900 and a SB-600 flash units in a wireless mode, here are the links for How to setup the SB-900 as a Master Speedlight Unit and How to setup SB600 flash to work in Commander Mode.
Source: A Hands-on Guide to Creative Lighting by Nikon School

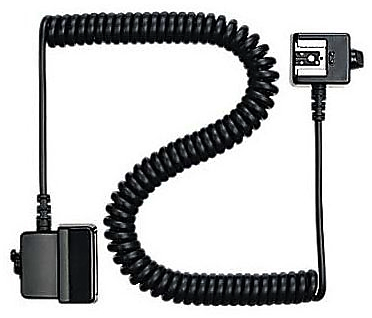


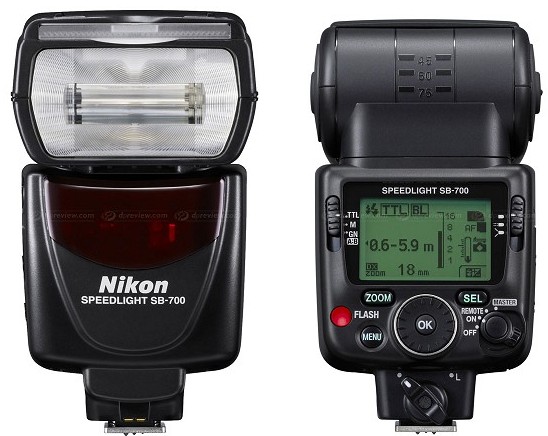
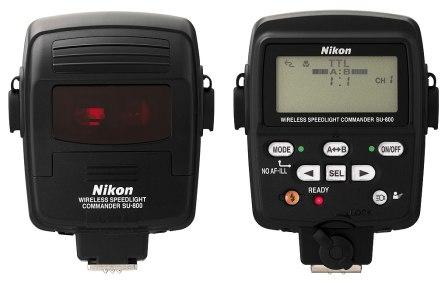


Almost all consumer level DSLRs and some of the pro level DSLRs come with the built-in flash. Professional photographers who shoot wedding, fashion, commercial portrait, or other special events do not rely on built-in flash to illuminate their subject. But, you don't have to use flash only when there is not sufficient natural light. It can also be used as a fill light to remove shadows or to add a catch light to the subject's eye. One of the best thing about the built-in flash is, you don't have to carry around an extra equipment and is always available on your camera, as long as the camera has sufficient battery power to charge and fire the flash. It can be put to use instantly whenever you want and doesn’t require any sophisticated setup. However, you need to understand few basics settings of your camera and should be comfortable navigating through the menu settings and the buttons on the camera.
Use of camera's built-in flash and its effect on the picture is determined by various settings on the camera, but most importantly, which metering mode you are currently using and what exposure mode you are on play a bigger role. Let's recap these camera metering modes briefly and then we can discuss about the steps we would be following in order to use on-camera flash. Since I wrote the blog about camera metering (in more detail) almost 9 years ago, Nikon has added a new metering mode; Highlight-Weighted Metering, which we will be discussing in the section below.