This post is written by Guest Contributor, Janet Ochs Lowenbach. If you are also interested in writing a guest blog, please reach out using the form in the Contact page.
The cameras are totally new types of cameras and the imaging systems to go with them. Called the Nikon 1 series, the systems are designed to compete with the Olympus PEN and Sony NEX series models. They can be ordered, among other places, from the website of B&H photography, Amazon and other online stores. Nikon’s new 1 series cameras, the Nikon J1 and Nikon V1, are compact, mirrorless cameras that feature a new 10MP CX format (13.2 x 8.8mm / 3872 x 2592-dot), CMOS imaging sensor and a dedicated Nikon System 1 lens mount designed specifically for use with the new CX-format sensor.
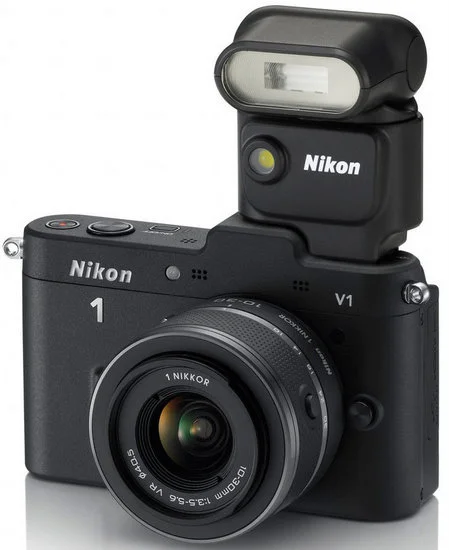
Nikon V1 with Flash
The top-of-the-line 1 series Nikon is the Nikon V1, which features a svelte form factor (4.4 x 3 x 1.7" / 113 x 76 x 43.5 mm), light weight (10.4 oz / 294 g camera body only) and a choice of viewing options—a high definition, 1,4400,000-dot electronic viewfinder (EVF) that comes into play when you raise the camera to your eye, or a more traditional 3.0-inch, 920,000-dot rear-mounted LCD for those who prefer squinting at a small screen under bright, sunny skies. It costs around $850.
Other characteristics: up to 10 frames per second (full-res), JPEG, NEF (RAW) or NEF (RAW)+JPEG stills, full HD video (1,920 x 1,080/60i, 1,920 x 1,080/30p, 1,280 x 720/60p, as well as the ability to shoot at up to 60 frames per second for slow motion playback at 24 frames per second. There’s also a Smart Photo Selector that automatically captures a high-res still while recording HD 1080p video. The new System 1 cameras also feature Nikon’s newest dual core EXPEED 3 image processor, which according to Nikon is tuned to enable the new cameras to perform as advertised, including still capture at speeds up to 60 full-res frames per second—when you simply cannot afford to miss the shot.
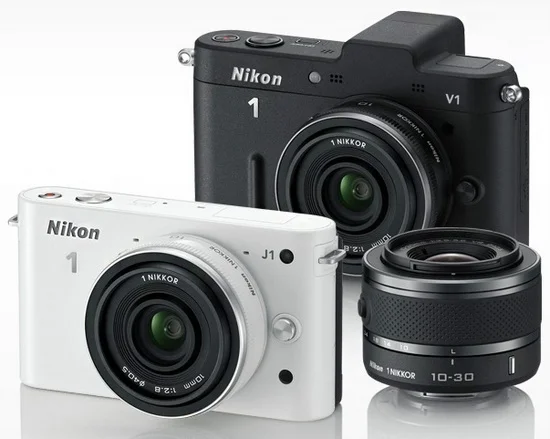
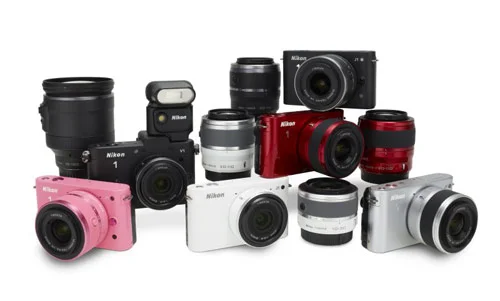
Nikon V1 and J1
The Nikon J1 is slightly smaller, slightly lighter, and about $250 less expensive than the Nikon V1, and relies solely on a 3.0-inch (460,000-dot) LCD for composing and reviewing stills and video. But aside from the lack of an EVF, and a lower-res LCD, the Nikon J1 and V1 share all of the above mentioned attributes and performance specs. The Nikon J1 will be available in black, red, silver, white, and pink.
The ISO sensitivity range of Nikon’s System 1 cameras goes from 100 to 3200, with an extended ISO 6400 in the dark. Autofocus is also reportedly quite responsive, thanks to a new 73-point hybrid AF system that automatically switches between phase and contrast detection as needed, and allows for full-time continuous focusing while shooting.
New Lens Mount
This new Nikon 1 lens mount, introduced on the innovative Nikon 1, V1 and J1 cameras is needed because the new cameras (being a mirrorless format) lack the bulk of the Digital SLR mirror arrangement, and so are much smaller than a full DSLR. There is also an adapter to allow the older Nikon full frame FX and also the smaller format DX lenses to be used with the new mirrorless cameras
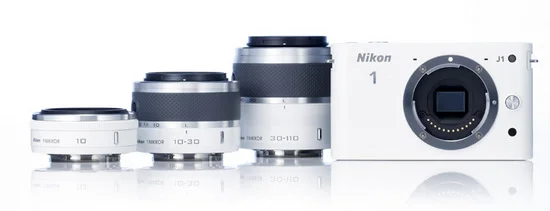
Nikon J1 and Nikon new lenses
Here are the characteristics of the Nikon J1 Mirrorless Digital Camera:
A 10-30 mm / 30-110 mm Lens (White)
CX-Format High-Speed AF CMOS Sensor
EXPEED 3 Dual Image Processor
Interchangeable 1 NIKKOR Lens System
10 fps Continuous Shooting in AF Mode
73 Point AF Array
3.0" 460K-Dot Anti-Glare Color LCD
Full HD (1080p) Movie Record Mode
Motion Snapshot 1-Touch Photo Animation
Smart Photo Selector
10-30 mm VR Lens/ 30-110 mm Lens
Nikon 1 Series equipments
Accessories for Nikon’s System 1 cameras include an SB-N5 Speedlight, an external stereo microphone for greater audio fidelity, and the GP-N100 GPS module, each of which couple to the camera via a Multi-Accessory port located on the camera’s top deck.
To complement the new cameras, Nikon has also introduced the first 1 Nikkor lenses, starting with the 1 Nikkor VR 10–30mm/f3.5–5.6 (27–81mm equivalent), which will serve as the standard kit lens for both cameras. There will also be a 1 Nikkor 10mm f/2.8 pancake lens (27mm equivalent), a 1 Nikkor 30–110mm f/3.8–5.6 (81–297mm equivalent) and a 1 Nikkor VR 10–100mm/4.5–5.6 (27–270mm equivalent) power zoom, which is optimized for smooth, quiet video capture.
Here are some advantages and disadvantages of the new mirror less camera and the CX lens.
Advantages of the Mirrorless Format
Small physical, pocket-size for easy storage.
Small weight, easy to carry.
Silent operation due to lack of mirror noise, so can be used in stage shows and other events when allowed.
Can use DX and FX lenses if you have any of these lenses with an adaptor, the camera has a lens multiplication factor of 2.7, thus a 70-200mm lens becomes an effective 190-540mm lens. A 500mm lens becomes an effective 1350mm.
This camera will be a great compact movie camera for High Definition movies.
Greatly improved image quality from the existing range of smaller sensor Coolpix cameras.
Disadvantages of the Mirrorless Format
No optical viewfinder, but there is an electronic viewfinder.
Focusing with any action shots may not be as precise and fast as the Digital SLR range of cameras
Higher pixel density with smaller pixels and probably more image noise as a result.