This post is a part of our Q&A section. If you want to submit your question, please use the form in the Contact page.

Afrina (Kuala Lumpur, Malaysia) asked : I am not a pro photographer but I enjoy photography. When I visit the flickr and other photographers' website or blog, they have a collection of amazing photographs. Some of the photographers also revel what editing tool they used and what was done on the picture during post-processing. Do you think it is necessary to use any software to make your photograph look good?
I have seen this confusion on many photographers from different level of expertise. I think this wouldn’t be that much of interesting topic when you are just starting photography but as you progress more on your composition skill and master your camera settings, the next stop would be the editing skill. I also went through the same situation a while ago and started looking my option for post-processing. When it comes to the editing, different photographers have different views about the process and the tools they would like to use. Even after reading many blogs and online tips, the answer was not so clear to me whether the editing skill is a must to have to enhance your photography or it is just an optional choice. Some of my friends jokingly say that, if you are using Photoshop to enhance your photographs then it's not a photography, it is a Photoshopgraphy. I find it funny but meaningful statement at the same time. When I see other photographers’ work, I forget all the critics and feel like editing is a must have skill set and is one of the important part of digital photography. After doing much research, I wrote a blog about post processing where I discussed more about the post-processing and listed down some of the best known post-processing software in the market.
To be honest, it is not always necessary to use a software and process the pictures but sometimes you find it necessary just to tweak some settings, adjust colors and lights or even crop the sides. Some people think cropping is not really a post processing but I would say, if you use any software to manipulate the photographs by any means, it is a post-processing because you processed the photographs after taking it out from the camera.
Let me present you an example of a photograph, before and after processing it, and you shall decide if post-processing is really necessary or not. And also, as always, I welcome your comments as well.

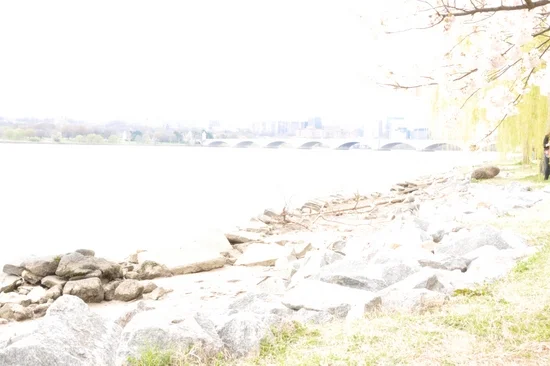
Before post processing
I took this photograph of the Lincoln Memorial Reflecting Pool last year. When I came home and downloaded the picture from the camera, I felt good about it's composition (symmetry) but felt like I was missing something on the picture. I was not really happy with the color contrast and thought of playing with the color tones and the contrast and see how will it become. I started editing the picture using Capture NX2, one of my favorite software to process RAW images. During the processing of the image, I increased the color contrast and adjusted the brightness of the picture which transformed the picture into the next level. Just a couple of small tweaks boosted the mood of the image and the result was very impressive. The picture looked more vibrant and lively after the post-processing.

After post processing
The result is in front of you and I let you decide whether the post processing is really necessary in digital photography or not. But looking at the transformation this image got, I think you would agree that post-processing is an essential tool and may greatly help you to enhance the picture if done correctly. You just have to be careful about not doing it too much, otherwise it may not look natural.