This post is written by Guest Contributor, Janet Ochs Lowenbach. If you are also interested in writing a guest blog, please reach out using the form in the Contact page.
The setting sun is one of the glories of the day and possibly the best memory of a vacation. But it takes some skill to produce photos that stand out from the crowd. First off, decide what you will include in your shot. Go to the site an hour ahead (you might want to look up the time of sunset earlier in the day), and walk around. See what scenes you might want to include and what objects you might want to place in the foreground of the shot for interest. (Silhouettes in the foreground are a valuable compositional device.) Plan to bring a tripod.
You might even go over the possible exposures in your mind. (It is best to use the smallest possible aperture is to increase depth of field.) Even though the sun is going down, it is important not to look directly at it when it is too bright. A rule of thumb I use is to hold my fist up to the horizon; I can shoot when the sun is below that. Frankly I have also looked directly at the sun when it is higher, but I am here to tell you I have read enough to know that is a very dangerous thing for your eyes and the camera itself. IT ISN'T WORTH IT! It is particularly important to never look directly at the sun through a long lens, which magnifies the light.
Begin taking the shots a half hour or so ahead of the event– the clouds take on wonderful colors before and after sunset. There is something exciting too about photographing the sun continuously as it dips below the horizon.

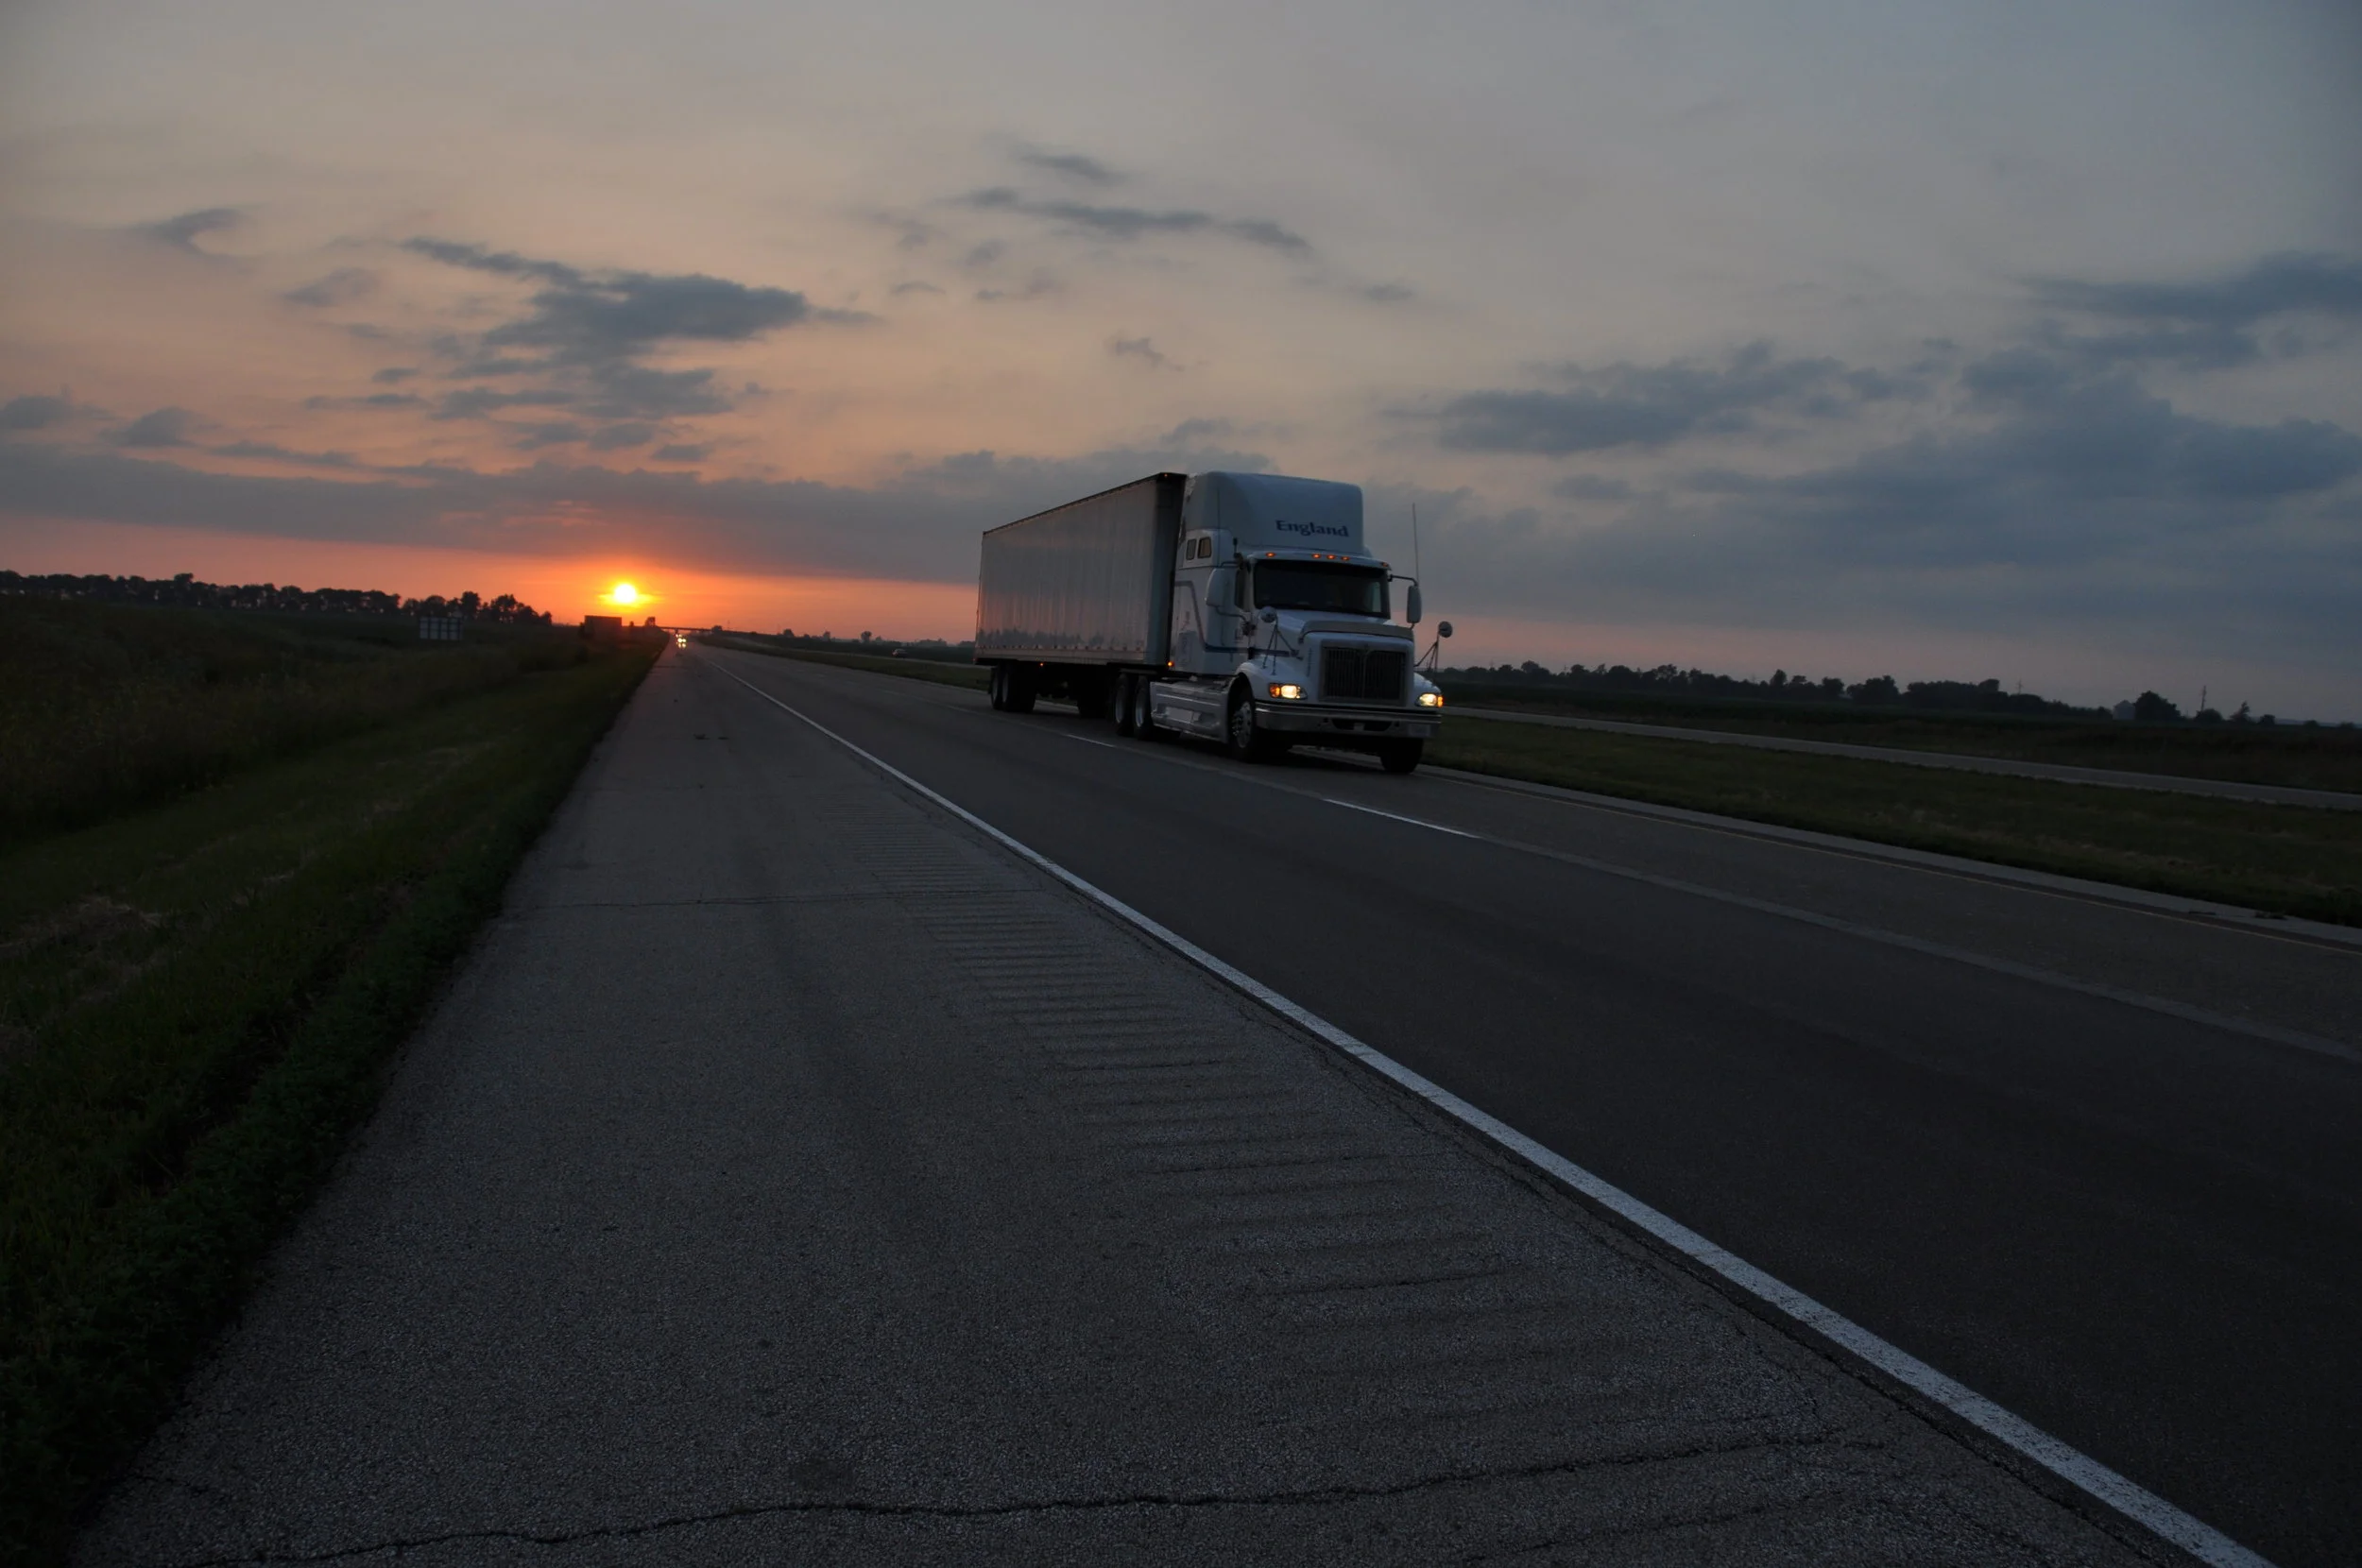
Sunset at Bailey Island
Plan to shoot at a variety of focal lengths –sometimes a wide panorama is best; sometimes you will want to narrow the field.
Sometimes the lack of contrast makes it hard to focus when the camera is on automatic; sometimes the shot won’t work at all and sometimes the camera misfocuses, but you won’t notice the fuzz until later. So make sure you take a fair number of shots on manual focus!
Remember the rule of thirds, and keep the major elements of your shots off center.
Make sure you experiment. You may choose aperture priority to make sure you have adequate depth of field. I like to experiment by shooting on manual (bracketing), once I have chosen the basic exposure from program priority. Manual shooting makes you familiar with the exposures that work in various settings. I like to see the effects of more or less exposure (or even flash in the foreground) on the clouds as they are lit up by the dying of the light.
Here are some other sunset shots I took this summer in Bailey Island, a beautifully isolated spot on Casco Bay, an hour from Portland.


I suggest you to go out and try yourself. You might make a few mistakes but that is how you learn and grow. Best of luck!